
In the last article, we talked about why all of a sudden Instagram released Reels in India.
However…
Today we would see how YOU can create your reel and post it on your Instagram.
Reels have become a sensation overnight as it rolled in the Indian market.
And there is some constant buzz about it around the globe as it’s been widely appreciated and used by millions of users.
So without any further ado, let’s get down to the business and see how YOU can use this awesome feature and exponentially scale your Instagram account to reach a wider audience.
Creating Reels on Instagram is super easy.
Just go to your story’s camera and click on ‘Reels’ (on the right) beside the story option.
If it’s the first time you have decided to use this option, Instagram would present you with a little info about what this feature is all about (as in the image below).

It says- ‘Record and edit short videos with speed control, visual effects, and music’ (the basics of what this feature can do).
Instagram has additionally two other option i.e. ‘Get Started’ and ‘Learn More about Reels’.
Click on ‘Get Started’ to proceed further else select ‘Learn More about Reels’ if you want to learn more.
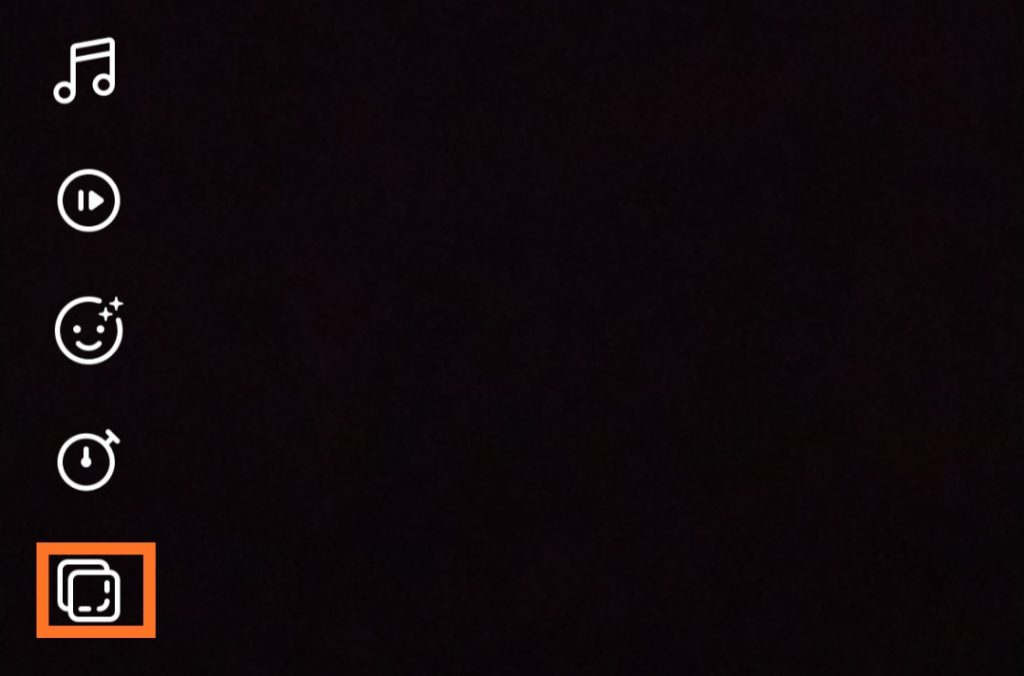
Post-clicking ‘Get Started’, YOU will see four options named ‘Music’, ‘Effects’, ‘Speed’ and ‘Timer’ that Instagram displays on the screen.
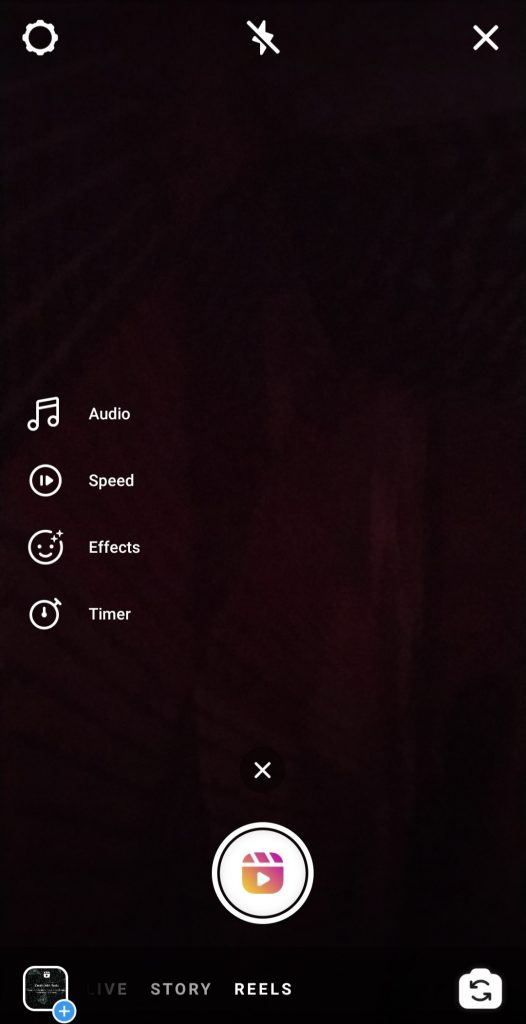
Users have a maximum of 15 seconds limit which they can adjust from the ‘Timer’ option.
Click on ‘Timer’ to adjust the timing of your REEL video.
And then select the ‘Filter’ if you want by clicking on the filter option.
Users can additionally adjust the speed of their video to 0.3x, 0.5x, 2x, 3x respectively by clicking on the speed option (second).
Last and most crucial is the ‘Music’ feature which you can use from the list of available features by clicking on the music option.
Instagram present YOU with two different tabs- ‘FOR YOU’ and ‘BROWSE’ from where you can select music of your preference.
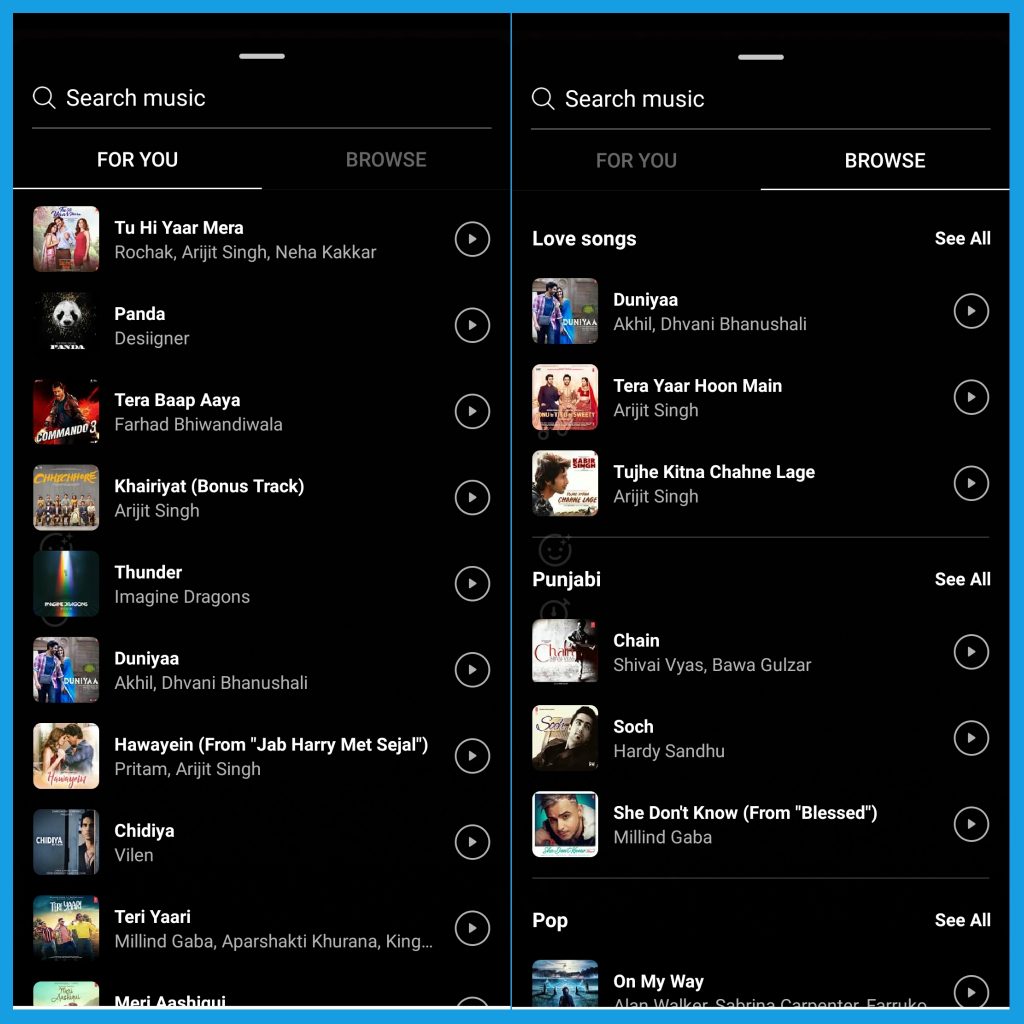
Post-selection, move the slider left and right to select the part of the audio you want to use in your Reel.
Now click on the record button in the center to record you Reel, or select a video from your phone’s gallery.
Provided your Reel is set to less than 15 seconds, YOU would notice an additional option named ‘Align’ which lets you create and align the remaining part of your Reel in the same Reel video.
After all the customization and editing, Instagram presents you with two different options to share.
Number one is to share ‘Reels’ in the Instagram Feed and Explore section, while the other is to share it in your stories.
Choose where you want to share your Reels, and click on the ‘Share’ button to share it with your audience.
And…
That’s it!!!
Your Reels is now LIVE on Instagram where your audience can watch and enjoy your content.
By the way…
Have you used this feature yet?
If yes…
Do you use it for your business profile, or just for fun?
Let me know your views in the comments down below!
And please do share this article if you liked it.
P.S.- Subscribe to our newsletter so you never miss any update.
Till then?
See you next time!
Bye-bye.